
Learn to Sketchnote – Behind the scenes of my Domestika course
A couple of weeks ago, my new online course about Sketchnoting came out. For the course I partnered with Domestika, an online learning platform for creative courses. I developed the content for the course and the (lovely and very professional) Domestika crew took care of the production.

Domestika courses are all very practice orientented and designed around a ‘final project’ that students will complete at the end of the course. For the topic of sketchnoting it seemed obvious to make that project a sketchnote of a talk.
The lessons building up to the project introduce all the different skills we need to sketchnote (drawing, writing, listening, filtering and summarising content, finding images, creating structure, etc.). This is usually how far you get in a regular workshop.

Some of the sketches from the preparatory lessons
The real detailed thought process I go through when I sketchnote a talk is usually much harder to show, especially in a live workshop. But as we were working with pre-recorded and edited video lessons, I thought this is the ideal opportunity to show my process in detail, explaining each decision – what I heard from the speaker, which points I choose to capture, how I summarise each point, which information I write down, which information I choose to draw, which elements I emphasise visually and how, etc. – showing the what, the how and the why of each step.
Sketching the talk during the course
It would have been fun to completely improvise the sketchnoting, just sketching a talk I didn’t watch before, live, making the challenge really authentic…. BUT, with a whole crew being on set for the shoot and time being limited (we had four days to shoot the whole course), I had to prepare this final lesson in advance. I also wanted to make sure that the talk contained a variety of information and challenges to show the previously practiced skills in a real-world situation.
To make things easy with copyright, we decided to choose a lesson from another Domestika course as the talk to sketch. I watched a lot of videos, looking for the right length, complexity and mix of content. I finally settled on a video from Alice Benham’s course on Digital Marketing.
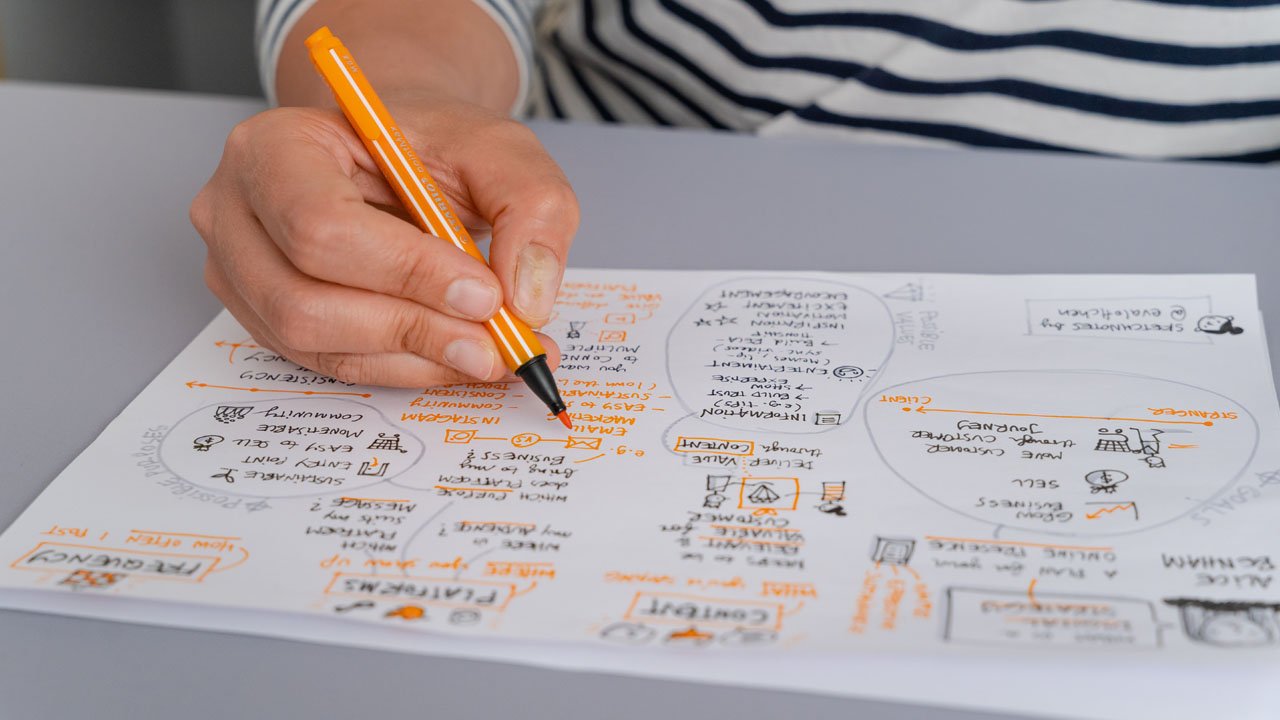
Once I had found a promising lesson, I sketched the whole talk without pausing (as I would in a real world situation at a conference for example) to get a feel for the content.

My first test sketchnote of the talk
Here's a little timelapse video of me drawing the first test sketchnote:
As you can see, I ran out of space on my first paper, so I just added a second A4 sheet. That’s not a problem. Running out of space happens all the time as you just can’t know in advance how much interesting content there will be. And especially when the sketchnotes are for myself, I wouldn’t leave out any important points just because I run out of paper.
After the first test run, it was time to dive into the details and map out how to best break down the talk to show the most important steps and decisions while sketchnoting.
I created a pretty hefty spreadsheet listing the time stamps when I’d pause the video, the main point of the speaker in this moment, what I want to write down, how I’d summarise it, how I’d give it the right visual weight and what I want to draw to accompany the information.

The detailed prep spreadsheet
I also created a slightly restructured and condensed version of my initial sketchnote to accompany the spreadsheet. I sketched it digitally on my iPad, which allowed my to get the structure cleaned up a bit. I could also place and style all elements in a way that I could explain my process and decisions in the best way.

The cleaned-up digital prep sketchnote
Below you can see a timelapse of the digital sketchnoting: starting with chopping up my first paper draft, reorganising some of the elements, then creating a rough stylesheet to use for the different levels of information (from 00:11) and finally redrawing all the content (from 00:15).
Both the spreadsheet and the digital prep sketchnote turned out to be absolute gold when it came to filming. It kept me on track, helped me to not forget any important points to mention and made the filming relatively smooth and straight forward.
Alice’s talk is about 16 minutes long. The final video lesson sketchnoting the talk has a duration of 50 minutes (cut into three parts).

Still from the course lesson
It’s the first time I tried to show my process at this level of detail. Applying all the general principles of sketchnoting to an actual talk is usually what people struggle most with when they begin. I hope my student will find it valuable to follow an actual example and that the demo will answer some of their most burning practical questions.
If you would like to take the course as well, please follow this link:
https://www.domestika.org/en/courses/4382-sketchnoting-communicate-with-visual-notes/evalotta
PS: This week, Domestika has big Black Week discounts going on (until Monday 28 November). Get the course now and do it whenever you like (you own it forever).

I can’t wait to hear what you think and if you found this ‘final project’ approach helpful for your own process.